The Delicious Street Food Snack of India: An In-Depth Guide to Making Perfect Bread Pakora at Home
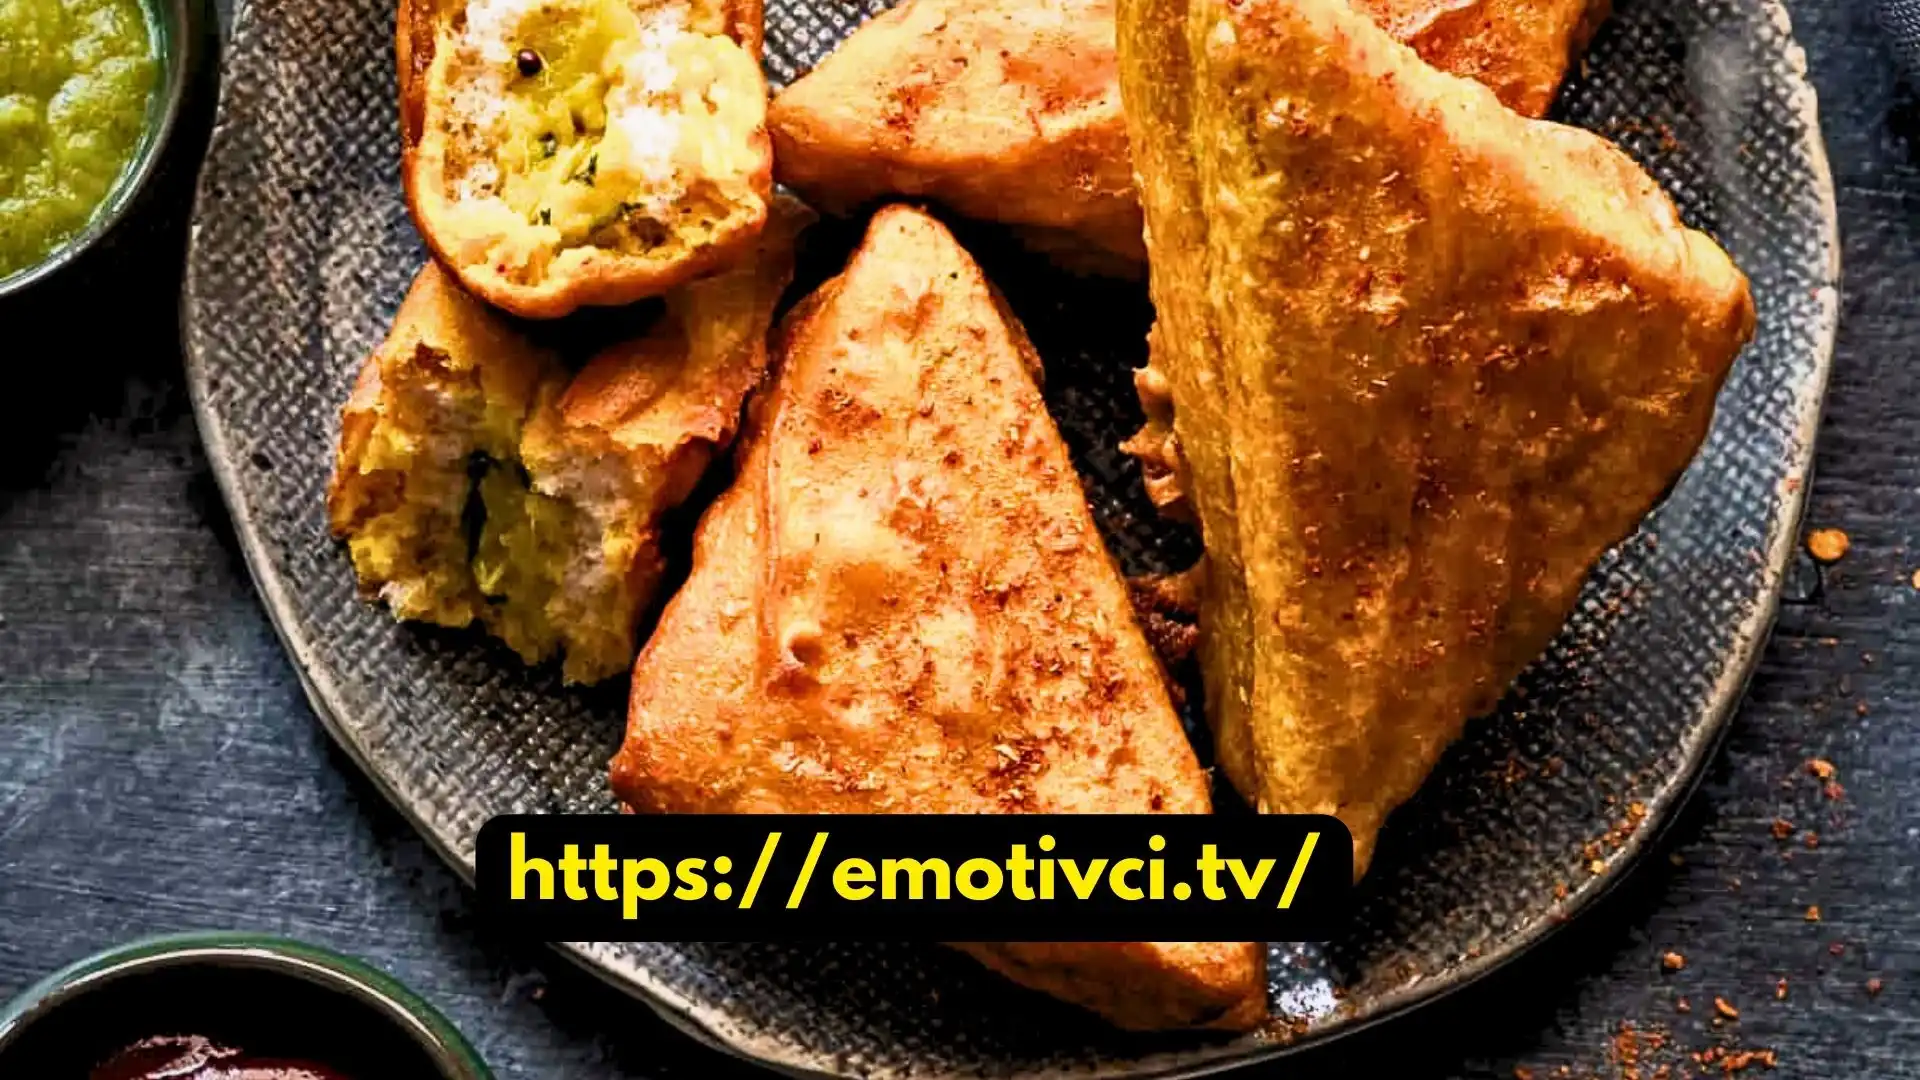
Bread pakora holds a special place in the hearts and stomachs of Indians. This crisp, tasty street food snack is ubiquitous nationwide but especially popular in north India’s chaat culture. The soft inner bread and the spicy, crunchy outer batter are irresistible.
While they may seem intimidating to prepare, homemade bread pakora is easier to make than expected. You can create authentic-tasting bread pakora in your kitchen with the right techniques and flavorful, well-balanced potato stuffing.

This comprehensive guide will walk you through everything you need to know. From choosing the ideal bread, creating the flavorful potato filling, whipping up flavor-packed batter, and frying to perfection. Along the way, you’ll pick up helpful tips, tricks, and variations to put your creative stamp on this beloved Indian snack.
The History and Popularity of Bread Pakora
Walk along any busy street in north India, and you’re bound to encounter sizzling plates of bread pakora. From Mumbai to Delhi, bread pakora is a top choice for a quick, satisfying snack or small meal.
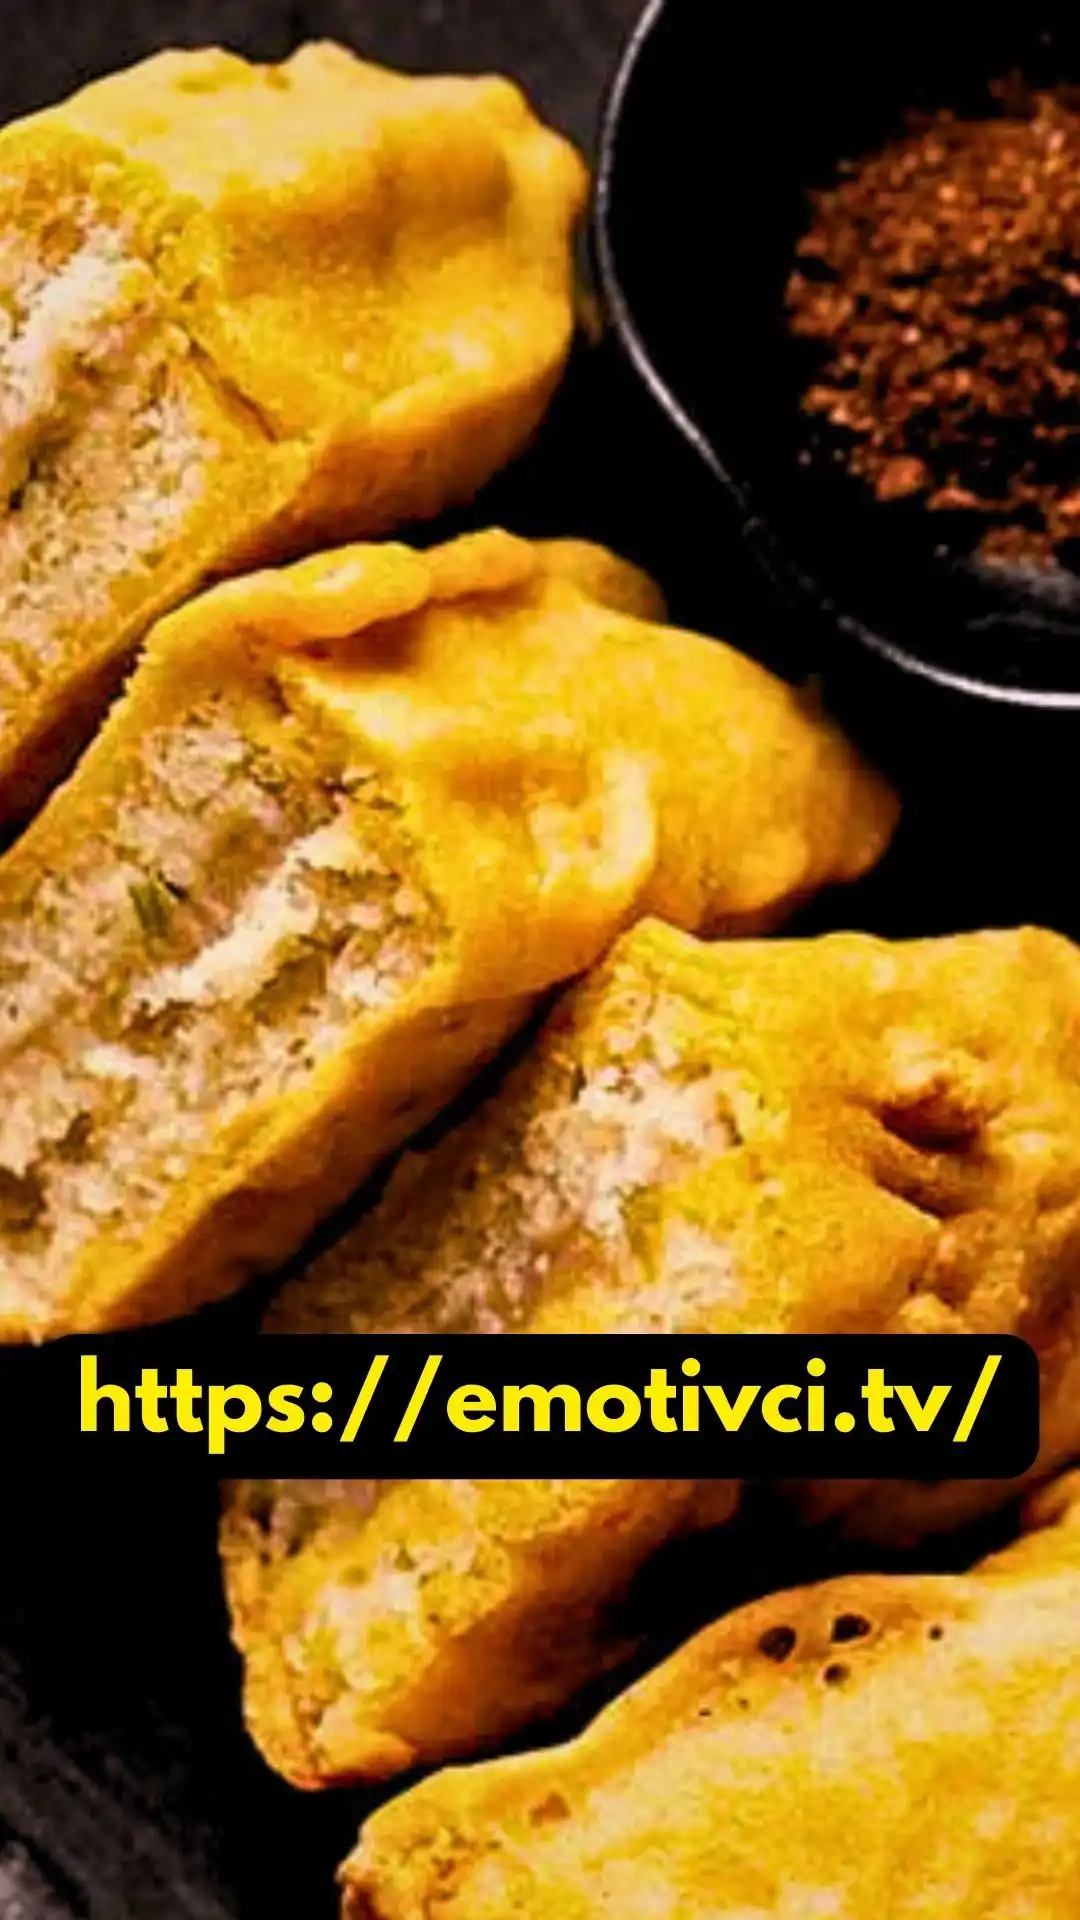
The combination of soft, pillowy white bread and spicy, earthy potato filling enveloped in crisp gram flour batter is irresistible. The texture contrast between the crunchy exterior and pillowy interior makes for an addictive snack.
While the origins of bread pakora are obscure, it likely emerged as street food invented to use up leftover bread. The potato filling adds nutrition and substance and stretches the bread to feed more people.
Over time, bread pakora became a beloved staple. And each region and cook developed their variation. For example, in Mumbai, bread pakora often comes loaded with fiery green chilies, spicy mustard, and curry leaves. Delhi-style bread pakora spotlights warming spices like coriander, cumin, and garam masala.
No matter how it’s prepared, bread pakora satisfies. The crispy, mouthwatering snack provides flavors and textures in each bite. It’s the ideal quick snack for busy days when you need satisfaction fast.
With the recipe below, you can now enjoy this Indian street food favorite whenever those bread pakora cravings strike!
Choosing the Best Bread for Bread Pakora
Bread pakora begins, of course, with the bread! Choosing bread with the right density and texture ensures your bread pakora turns out perfectly crisp yet pillowy every time. Here are the top tips for selecting bread for bread pakora success:
Avoid Sweet Bread Varieties
Save your brioche and challah for French toast. Bread pakora showcases savory spices and potato flavors, so sweeter bread varieties compete instead of complement. Standard white sandwich bread works best.
Seek Out Sturdy Texture
Delicate, fluffy bread won’t stand up well to frying. Look for bread with a stronger, sturdier crumb that provides structure and absorbs the stuffing flavors.
Too Dense Creates a Dense Pakora
On the other hand, ultra-dense breads make for overly heavy, tough bread pakora. Seek out a sturdy white bread with medium density for the best texture.
Note Fiber Content
Higher fiber breads add too much toughness once fried. For soft, pillowy bread pakora inside, use plain white sandwich bread or milk bread with lower fiber content.
Avoid Giant Holes
Breads with large irregular holes allow batter to leak into the interior, preventing it from frying up light and crispy. Seek out bread with a tighter, finer crumb structure.
In a pinch, ordinary sandwich bread works perfectly. But for authentic texture and flavor contrast, milk bread provides a pillowy softness that takes bread pakora to the next level.
Now that you know what to look for in your bread, it’s time to develop the flavors that make bread pakora so crave-able: the potato stuffing!
Crafting Flavorful Potato Filling, the Heart of Bread Pakora
Spicy, aromatic, and highly seasoned potato filling provides the flavorful heart of bread pakora. Getting the potato filling right lays the foundation for incredible bread pakora. Here’s how to make potato stuffing with authentic chaat flavor.
Start with Sturdy Potatoes
Choose hardy russet or yellow potatoes. Higher starch potatoes hold their shape better once cooked than waxy red or white potato varieties, which can turn gluey.
Cook Until Just Tender
Boil, steam or pressure cook potatoes until just fork tender but not falling apart. They should retain some bite at the center. Overcooked mushy potatoes make for a dense and watery filling.
Mash With Spices & Herbs
Mashing the cooked potatoes while warm ensures maximum fluffy potato goodness! Then incorporate traditional bread pakora spices like chili powder, garam masala, coriander, and ginger.
These aromatics infuse the potato stuffing with tempting flavor. Adjust amounts to your desired spice level. Adding herbs like cilantro or green onion provides a fresh contrast.
Stir in Tart & Tangy Elements
To balance the rich potato and warming spices, acidity is key. Stir in amchoor powder, lemon juice or even tangy yogurt for authentic chaat flavor. The acidity keeps each bite interesting.
Fry Fragrant Tempering
No Indian dish is complete without tempering! Quick fry mustard seeds and curry leaves in hot oil until they crackle and pop. Pour spiced oil over the potato. Traditionally, frying the potato stuffing prevents a soggy pakora.
Cool Completely Before Using
Warm potatoes lead to gluey bread pakora that falls apart. Always cool stuffing fully before using it for easy shaping. Cover and refrigerate for up to 3 days; just bring back to room temp before using.
Now that you’ve perfected two key components, it’s time to combine them into the batter that crisps everything up!
Master the Magical Bread Pakora Batter
In Indian cooking, batter works magic. The right batter transforms simple ingredients into crispy, irresistible delights. For bread pakora, a well-balanced besan batter ensures a delicate crunch that interests every bite.
Follow these top tips for whipping up the batter that fries to golden perfection every time:
Lead with Chickpea Flour
As with most pakora batter, chickpea flour forms the flavorful base. Known as besan or gram flour, nutty chickpea flour contributes to body, binding, and crispness once fried. For especially crispy bread pakora, seek out coarse or stoneground besan.
Spice Things Up
What’s pakora without spice? Red chili powder, turmeric, garam masala, and ajwain seeds add tempting traditional Indian flavors and visual appeal. Adjust amounts to your family’s desired spice level.
Stir in Starchy rice Flour.
Adding some rice flour lightens besan for an extra delicate, crispy crust. It helps the batter adhere to the sandwich filling without absorbing excess oil. For gluten-free bread pakora, sub in tapioca flour instead.
Loosen with Water
Adding water gradually prevents over-thinning the batter. Stop when the batter reaches the ideal painting consistency – flows easily off a spoon but is still fairly thick. Too thin of a batter fries up greasy instead of crisp.
Rest Batter Before Using
Before frying, set batter aside for 15 minutes up to overnight. Resting allows chickpea flour to absorb liquid and swell slightly for improved texture. Don’t skip this key step!
Once your aromatic besan batter is ready, it’s time for everyone’s favorite part: frying up hot, crispy bread pakora!
Frying Tips for Crisp Yet Spongy Bread Pakora
Getting bread pakora perfectly crisp on the outside while keeping the inner bread soft and pillowy is an art. Follow these frying tips and tricks for achieving bread pakora nirvana:
Mind Oil Temperature
Frying bread pakora in oil that’s too hot leads to burnt outsides and underdone centers. Contrarily, too-cool oil creates an oily breading that never fully crisps up. Instead, look for a happy medium heat level – between 350-375°F works perfectly.
Work in Small Batches
Resist overcrowding the pan when frying. Too many bread pakora lower oil temp, preventing them from crisping up evenly. Fry just 2-4 sandwiches at a time, depending on pan size. Adjust heat between batches to maintain ideal temp.
Give Each Side Time
Rushing leads to underdone centers, so allow a few minutes per side to fry to crunchy, golden perfection. Gently flip only once with a slotted spoon so the batter stays intact. Remove the bread pakora once both sides are beautifully crisp and golden brown.
Drain Properly on Paper Towels
Dangling freshly fried bread pakora causes the steaming batter to soften. Instead, immediately transfer to a paper towel-lined plate. The paper towels wick away excess grease for perfectly crisp bread pakora every time.
Check Internal Temperature
If you have a deep fry or candy thermometer, use it! Once bread pakora reaches about 175°F at the center, it’s perfectly cooked without over-crisping the edges.
Now that you’ve perfected the frying process get ready to impress family and friends with your street food skills!
Serving Suggestions & Pairings for Bread Pakora:
A plate of piping hot bread pakora demands accompaniments that provide color, crunch, and zingy contrast to the soft, spicy fried snack.
On the streets, bread pakora often comes served solo, but cooking them at home provides the perfect opportunity to take this snack to the next level!
Here are some of my favorite bread pakora pairings:
Hot Chai
Few things satisfy more than dunking crispy edges of bread pakora into steaming adrak wali chai, or ginger spiced tea. The warmth highlights the snack’s spice blend for a cozy experience.
Fermented Hot Sauce
The current hot sauce craze pairs perfectly with homestyle Indian flavors. A few garlic or chili-infused hot sauce drizzles make bread pakora irresistible!
Crunchy Fresh Veggies
Cool, fresh vegetables like cucumber sticks, baby carrots, and sliced radishes provide welcome crunch and brightness alongside bread pakora’s indulgence.
Green Coriander Chutney
What chaat snack is complete without the contrast of herbaceous green chutney? Blending cilantro, mint, and spices makes the ideal dip for your bread creations. Add a squeeze of lime for extra punch.
More great dip ideas include whipped yogurt spiked with roasted cumin and chili oil, punchy tomato ketchup, or mayo spiked with lime zest and salt. Get creative with homemade or store-bought condiments to take your bread pakora pairing over the top!

Tips & Substitutions for Perfect Homemade Bread Pakora
Now that you’re a bread pakora pro try these easy tips, shortcuts, and substitution ideas for putting your creative stamp on this beloved Indian street food:
- Make potato filling ahead – Cool fully, then store covered in fridge for up to 3 days
- Skip peas for carrot or cheese cubes in the filling
- Use thick-cut white or wheat bread or even leftover naan
- Add sliced green chilies, onion, or cilantro to the filling
- Stir chopped nuts or toasted chickpeas into batter for crunch
- Use gluten-free bread and rice flour batter for gluten-free pakora
- Replace ajwain seeds with 1 tsp each of cumin and fennel
- Instead of besan, try a chickpea and rice flour combo
- Shallow fry in just 1-2 Tbsp oil in a nonstick skillet
- Bake instead of frying: coat stuffed bread in batter, then breadcrumbs, and bake 15 minutes at 400°F
Wrapping Up Our Bread Pakora Adventure
I hope you’re inspired to unleash your inner Indian street food chef! Homemade bread pakora satisfies those hard-to-ignore cravings for crispy, spice-stuffed carb heaven.
With the right well-cooked potatoes, a slice of sturdy bread, delicately spiced besan batter, and frying at just the right temperature, you can create authentic, irresistible bread pakora from your kitchen.
So gather your ingredients, fire up your fryer or skillet, and prepare for rave reviews from lucky friends and family! Just be prepared for the next request for a fresh batch of your incredible homemade bread pakora creations.
Discover the art of preparing the classic Indian breakfast staple, Upma, and then delve into mastering the art of making perfect Bread Pakora at home with our detailed guide.


